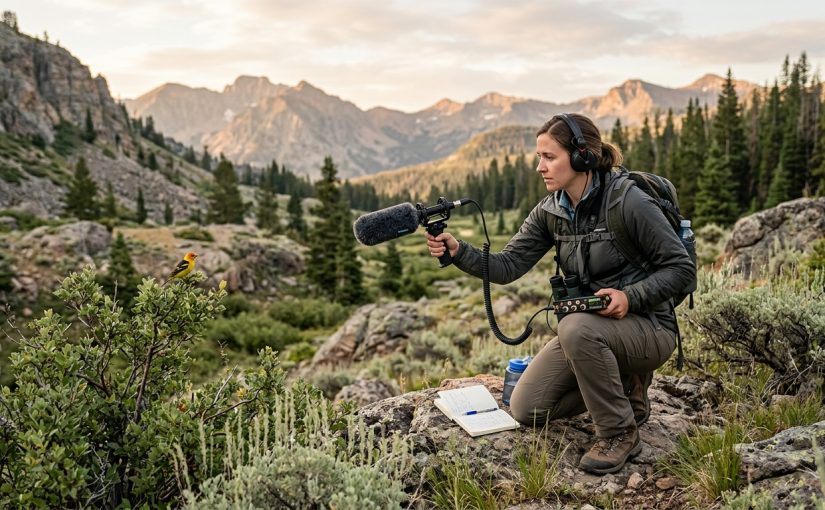
Recording bird vocalizations in the field transforms how we study avian behavior, document species presence, and contribute to conservation efforts. Whether you’re tracking a rare warbler in dense chaparral or documenting dawn chorus patterns in alpine meadows, capturing clean audio requires more than pressing a record button. The difference between usable recordings and wasted hours often comes down to preparation, technique, and understanding how sound behaves in natural environments.
Successful bird vocalization recording depends on selecting appropriate equipment for your target species, understanding microphone placement principles, managing environmental noise, and maintaining consistent metadata practices. Field conditions demand weatherproof gear, redundant storage, and patience to capture clean recordings. Most failures stem from inadequate wind protection, poor gain staging, or recording during suboptimal conditions rather than equipment limitations.
Choosing the right recording equipment
Your recording setup needs to match both your target species and field conditions. A shotgun microphone excels for directional recording of individual birds, while omnidirectional setups work better for soundscape documentation.
Digital recorders have replaced tape machines for good reason. Models with XLR inputs provide phantom power for professional microphones and offer better preamps than consumer devices. Look for recorders that accept SD cards larger than 32GB, since high-quality WAV files consume storage rapidly.
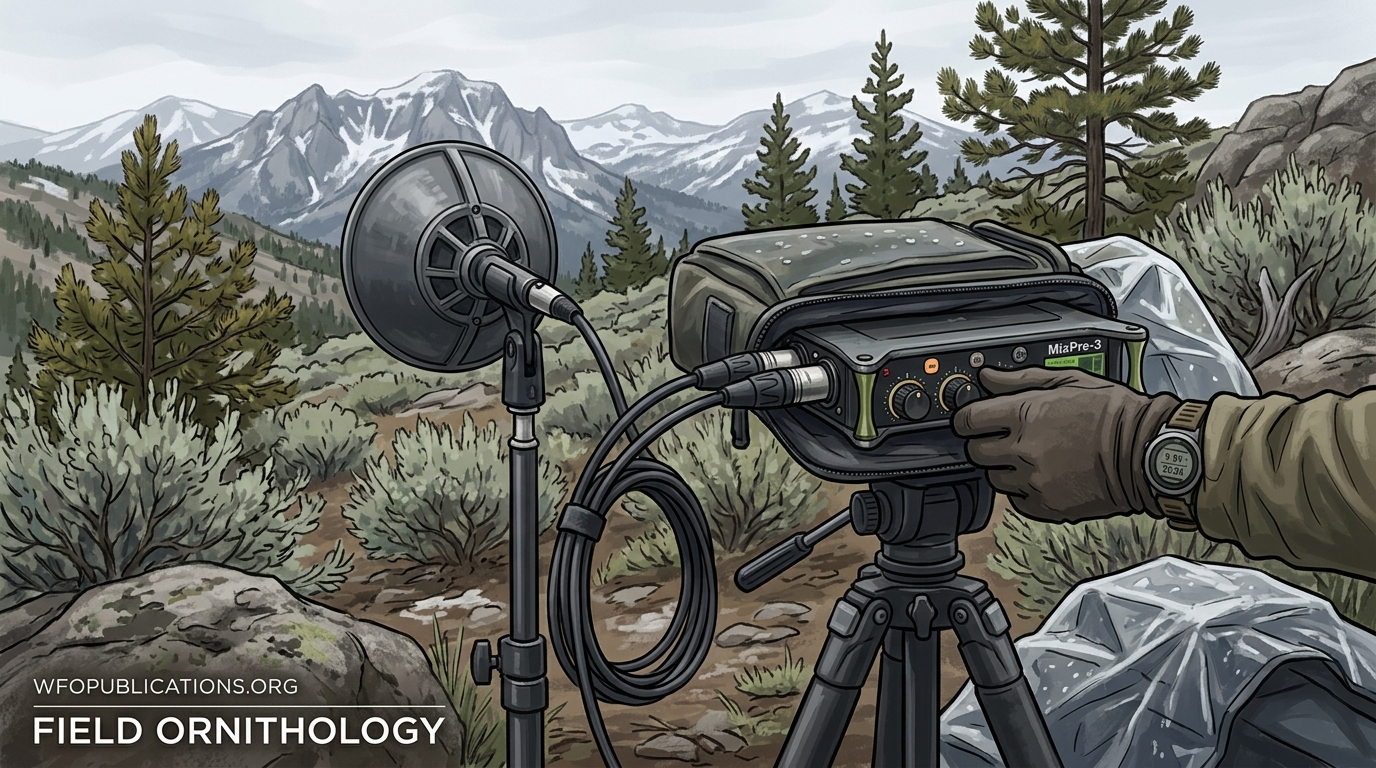
Microphone selection matters more than recorder brand. Shotgun microphones with interference tube designs reject off-axis sound, helping isolate your target bird from background noise. Parabolic reflectors amplify distant calls but add bulk and wind sensitivity. For general fieldwork, a mid-range shotgun microphone balances portability with performance.
Wind protection saves more recordings than any other accessory. Foam windscreens handle light breezes. Furry covers (often called dead cats, though we prefer synthetic wind baffles) manage stronger winds. In exposed ridgelines or coastal areas, even the best baffles struggle above 15 mph sustained winds.
Battery life determines your recording window. Carry twice the power you think you need. Cold temperatures drain lithium batteries faster than specifications suggest. Keep spare batteries in an inside pocket where body heat maintains their charge.
Setting up for your first recording session
Arrive at your recording location before dawn when possible. Many species vocalize most actively in the hour surrounding sunrise. Scout the area the previous evening to identify perches, territories, and approach routes that minimize noise from footsteps or gear.
Position yourself downwind from your target area. Birds often perch on the windward side of vegetation, placing foliage between you and your subject if you approach from the wrong direction. Sound quality degrades rapidly when leaves or branches interrupt the direct path between bird and microphone.
Here’s your pre-recording checklist:
- Set recording format to uncompressed WAV at 48kHz sample rate and 24-bit depth.
- Disable any automatic gain control or noise reduction features.
- Test your levels using ambient sound, aiming for peaks between negative 12 and negative 6 dB.
- Verify your windscreen is secure and your recorder is in airplane mode to prevent interference.
- Start recording 30 seconds before you expect vocalizations to capture natural context.
Gain staging causes more ruined recordings than any other technical error. Too low, and you’ll amplify noise floor when processing. Too high, and you’ll clip peaks, creating digital distortion that cannot be repaired. Use your recorder’s meters, not the playback speaker, to judge levels.
“I’ve salvaged recordings with moderate background noise, but I’ve never fixed a clipped recording. When in doubt, record a bit quieter. You can always amplify clean audio, but you cannot remove distortion.” — Field recordist with 15 years documenting western songbirds
Microphone placement techniques that work
Distance from your subject affects both volume and the ratio of direct sound to environmental noise. Closer isn’t always better. Recording too close can capture wing noise, feather rustles, and other sounds that obscure vocalizations.
For perched songbirds, position your microphone 15 to 40 feet away. This range captures clear vocalizations while maintaining natural acoustic space. Larger birds like owls or grouse tolerate greater distances, sometimes 60 to 100 feet for booming calls.
Aim your microphone slightly above the bird’s position. Sound radiates differently depending on bill angle and posture. Many species project their loudest calls forward and upward. Positioning your microphone at the same elevation or slightly higher often yields better results than aiming upward from below.
Avoid these common mistakes:
- Placing the microphone between the bird and a reflective surface like rock faces or water
- Recording with the sun directly on your recorder, which creates handling noise from thermal expansion
- Standing where your shadow movement might flush the bird
- Wearing clothing that rustles with every breath or movement
Ground-based recording works well for species that vocalize from low perches or the forest floor. Use a small tripod or bean bag to stabilize your microphone 2 to 4 feet above ground. This height minimizes contact with damp soil while staying below most wind turbulence.
Managing environmental challenges
Every habitat presents specific acoustic obstacles. Dense forest creates reverberation and absorbs high frequencies. Open grasslands offer clean recordings but expose you to wind. Riparian corridors provide excellent bird diversity but constant water noise.
Early morning often provides the best recording conditions. Temperature inversions trap sound near the ground, reducing how quickly calls attenuate with distance. Wind speeds typically reach their daily minimum just after sunrise. Insect noise remains manageable before temperatures rise.
Rain ends most recording sessions, but light mist sometimes improves conditions. Moisture-laden air transmits sound more efficiently than dry air. Protect your equipment with waterproof covers, but don’t pack up at the first sprinkle if your target species is vocalizing.
Traffic noise pollutes recordings miles from roads. Semi-trucks create low-frequency rumble that travels farther than you’d expect. Aircraft, including small planes and helicopters, ruin recordings even when barely visible. Check your recording site’s position relative to flight paths and highway corridors before committing to multi-day projects.
| Recording Challenge | Solution | Alternative Approach |
|---|---|---|
| Constant wind | Record during dawn calm period | Use terrain features as wind blocks |
| Stream noise | Position bird between you and water | Record species that vocalize above stream frequency range |
| Insect chorus | Record before temperatures reach 65°F | Use high-pass filter above 1kHz in post-processing |
| Echo from cliffs | Move to absorptive vegetation | Accept natural reverb as habitat characteristic |
| Multiple species | Use directional microphone | Record soundscape and isolate targets later |
Documenting your recordings properly
Metadata transforms random audio files into scientific resources. Create a naming convention before your first recording and maintain it rigorously. Include date, location code, recorder ID, and file number at minimum.
Record verbal annotations at the start of each file. State the date, time, location with GPS coordinates, weather conditions, habitat type, and target species. This takes 20 seconds and prevents identification errors months later when memory fades.
Maintain a field notebook with details your voice notes miss. Sketch the recording setup. Note the bird’s behavior, plumage details for age and sex determination, and any associated species. Photograph the habitat from your recording position.
GPS coordinates matter more than place names. “Near the third switchback” means nothing to other researchers. Decimal degree format to five places provides accuracy within a few meters. Record elevation, which helps identify species when vocalizations alone prove ambiguous.
Time synchronization prevents confusion when managing hundreds of files. Set your recorder’s clock to GPS time or your phone before each field session. Note whether you’re using local time or UTC in your metadata.
Processing and archiving your field recordings
Transfer files from your recorder within 24 hours. Memory cards fail. Recorders get dropped. Create two backup copies on separate drives before deleting anything from your original card.
Basic processing improves usability without compromising scientific value. Trim silence from the start and end. Apply a gentle high-pass filter around 80 Hz to remove wind rumble and handling noise. Normalize peak levels to negative 1 dB for consistent playback volume.
Avoid aggressive noise reduction. The algorithms that remove background hiss also degrade bird vocalizations by removing harmonics and introducing artifacts. A recording with natural ambient sound has more research value than one processed into unnatural silence.
Spectrograms reveal details invisible to the ear. Free software like Audacity or Raven Lite lets you visualize frequency patterns, measure call durations, and spot overlapping vocalizations. Many species show diagnostic features more clearly in spectrographic view than in audio playback.
Archive your best recordings with established repositories. The Macaulay Library at Cornell accepts high-quality submissions and makes them available to researchers worldwide. Xeno-canto specializes in crowd-sourced bird sound documentation. Both platforms require basic metadata and species identification.
Troubleshooting common recording problems
Handling noise appears as low-frequency thumps and rumbles. It comes from touching your recorder, shifting your grip, or vibration transmitted through tripod legs. Use a suspension mount for your microphone. Let your recorder run untouched rather than adjusting levels mid-recording.
Clipping distortion shows as flattened waveform peaks and harsh, crunchy audio. It happens when input levels exceed your recorder’s dynamic range. The only fix is re-recording with lower gain settings. Check your levels frequently when birds vary their call intensity.
Radio frequency interference creates buzzing, clicking, or rhythmic pulses unrelated to natural sounds. Cell phones cause it even in airplane mode if WiFi or Bluetooth remain active. Power lines generate interference within 100 feet. Move away from infrastructure or switch your recorder to a different input setting.
Unexpected silence in your recordings usually means phantom power wasn’t enabled for condenser microphones, cables worked loose, or you accidentally muted an input channel. Test your complete signal chain before hiking to remote locations.
Inconsistent levels between recordings make comparisons difficult. Develop a pre-recording routine that includes a standard test tone or ambient noise check. Aim for the same target level range across all sessions.
Building your field recording skills
Start with common, vocal species in accessible locations. Robins, towhees, and song sparrows provide abundant practice opportunities. You’ll learn microphone techniques, gain staging, and field craft without the pressure of rare species documentation.
Record the same species in different habitats. Notice how forest recordings differ from open country. Pay attention to how background noise, reverberation, and signal clarity change with environment. This comparative experience improves your ability to optimize setup for any location.
Join recording projects that need documentation from your region. Breeding bird atlases, migration monitoring programs, and acoustic surveys all need quality recordings. Contributing to structured projects provides feedback and purpose beyond personal collection.
Study spectrograms of your recordings. Compare your files to reference recordings of the same species. Notice differences in signal-to-noise ratio, frequency response, and clarity. This analytical approach accelerates improvement faster than accumulating hours of unexamined recordings.
Experiment with different microphone positions for the same bird. Record a territorial male from multiple angles and distances. Play back the files and note which positions captured the clearest, most natural-sounding vocalizations. This direct comparison builds intuition for field placement decisions.
Making your recordings count
The recordings you make today might answer research questions not yet formulated. Climate change shifts ranges and alters vocal behavior. Populations decline or disappear. Your documentation creates a permanent record of species presence, vocal variation, and habitat associations.
Contribute to citizen science platforms even if you don’t consider yourself an expert. Species identification can be crowdsourced and verified. Your recording from a specific location and date has value regardless of your experience level. The metadata and audio quality matter more than the recordist’s credentials.
Share recordings with local bird clubs and research institutions. Universities studying your regional avifauna might lack recordings from specific elevations, seasons, or habitats. A brief email offering your archive often leads to collaboration and improves local ornithological knowledge.
Keep recording the common species. Baseline documentation of abundant birds provides context for understanding population changes. House finches, starlings, and other familiar species deserve the same recording standards as rarities. Their vocalizations change over time and space in ways we’re only beginning to understand.
Your field recordings connect sound to place in ways that laboratory studies cannot replicate. Each session builds both your technical skills and your understanding of how birds use vocalizations in their natural context. Pack your recorder, check your batteries, and get out there. The dawn chorus won’t record itself.